
Photo from Unsplash by Mats Hagwall
Lost. That’s how I felt when I first saw the Linux CLI. Opening a terminal was easy enough, but then I was faced with an empty screen and a cursor. I didn’t know what to do or where to begin.
As a result, I would aimlessly find articles on how to accomplish certain tasks and type out the example commands – sometimes it worked, sometimes it didn’t.
At the time, I wish I had a better grasp of what I was actually doing when interacting with the CLI. So now, as I write this article for my past self, I hope it will provide some guidance for someone who is as confused as I was.
OVERVIEW
Here, we will review the absolute first steps of getting started with the Linux CLI. This will be the foundation for moving on to the basics of interacting with the Linux operating system.
NOTE: System Specifics
All the following commands were tested on a CentOS 7 VM. If you are using a different system, your results may vary.
Outline
- The Command Line Interface
- Usage
- Pros of the CLI
- Cons of the CLI
- The Graphical User Interface
- Windows Command Prompt
- Linux Terminal
- Logging In
- Via GUI
- Via CLI
- 4 Starter Commands
- whoami
- date
- reboot
- shutdown
- Tab Completion
- Single Possibility
- Multiple Possibilities
Prerequisites
- Basic Windows user knowledge
- A Linux system to execute commands on
THE COMMAND LINE INTERFACE
As you may know, the CLI (Command Line Interface) is used to interact with the operating system via typed out text – the text that you type is the command(s).
Usage
When first accessing the CLI, it initially looks like a mostly blank area with a blinking cursor. This cursor indicates where you can begin typing your command(s).
NOTE: Prompt String
Just before the cursor is some text. Here are some examples:
– username@hostname:~#
– [username@hostname ~]$
– username@hostname ~ $
This is the prompt string. It can display a variety of things such as your current user, the hostname of the system, the folder that you’re currently in, and other, configurable possibilities.
Pros of the CLI
- Faster execution: You’re only limited by how fast you can type.
- Easier to automate tasks: Chances are, if you can accomplish a task with commands, you can automate it.
- Similar usage for different systems: Even when on different Linux versions (or distributions), the majority of commands will be comparable.
Cons of the CLI
- Steeper learning curve: Since there is only a blank screen without any visual indicators, compared to a desktop environment, interaction is not as intuitive.
- Lack of visualizations: The CLI is limited to plaintext and simple color schemes; so, most multimedia is generally unavailable.
tHE GRAPHICAL USER INTERFACE
In contrast to the CLI, is the GUI (Graphical User Interface). The GUI is a way of interacting with the operating system through visual means. Commonplace examples include the Windows’ Desktop, a web application, your smartphone, etc. (basically any display you can see and click around in).
Windows Command Prompt
To access the CLI from Windows, you first need to open an application, such as PowerShell or Command Prompt.
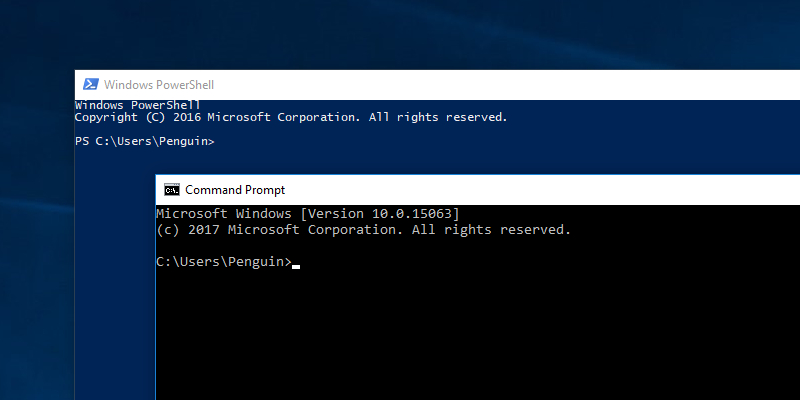
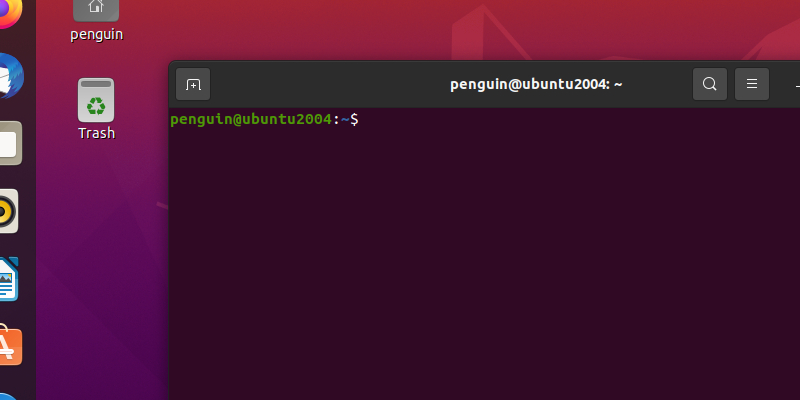
Linux Terminal
Similarly, on Linux, to access the CLI from the desktop, you would need to open a terminal application – these are usually installed by default.
LOGGING IN
When first powering on a Linux system, depending on whether you chose a desktop installation or not, you will be presented with a GUI or CLI login screen.
NOTE: Credentials
If you’ve just created a brand new Linux system, you should have set up a username and password during the installation process – you’ll need that to log in.
Via GUI
If you happen to be accessing a Linux distribution with a Graphical User Interface (GUI) – i.e., something with a desktop – you’ll be presented with a login screen.
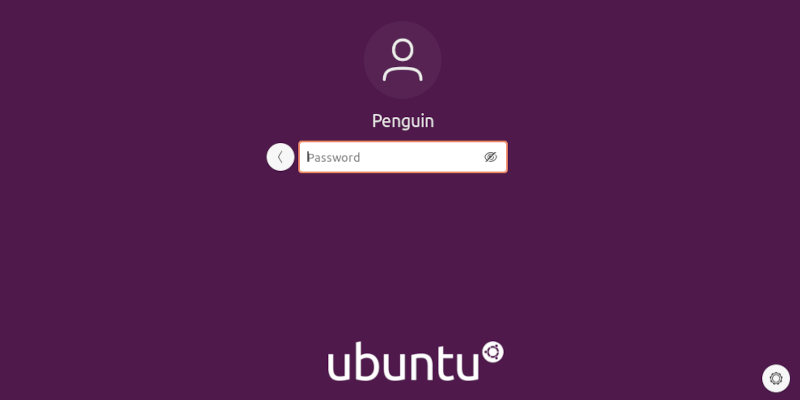
Just like Windows or Mac, you’ll enter your username & password, hit Enter, and you’ll be logged in.
Via CLI
To save compute resources, most Linux servers do not have a GUI or desktop; instead, all interaction is strictly via the CLI. As such, when powering on an all-CLI Linux machine, you’ll be presented with a login prompt in text form.
Similar to a GUI installation, you’ll first type your username, press Enter, then type your password and press Enter again; afterwards, you’ll be logged in and presented with the CLI. From here, you can begin typing commands to execute.
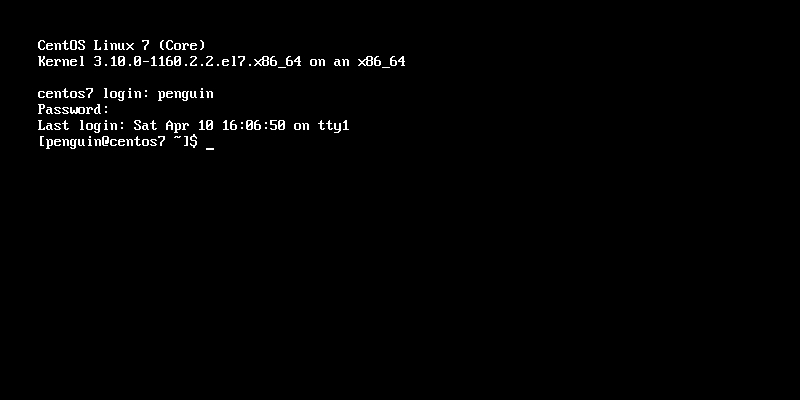
NOTE: Password Visibility
Know that, for security purposes, the password is usually not displayed as you type.
4 Starter Commands
While at the CLI, you can type out a command, hit Enter, and that command will execute. We’ll try some in the next sections.
whoami
The whoami command will display the name of the user you are currently logged in as. So, at the CLI, go ahead and type whoami, then hit Enter. You should see output similar to the following:
[penguin@centos7 ~]# whoami
penguin
In this example, you can see that we’re logged in as the penguin user.
date
Next, try out the date command. As you’d expect, it outputs the current date & time for the system’s configured time zone:
[penguin@centos7 ~]# date
Sat Jan 16 15:42:05 EDT 2021
NOTE: sudo
Certain commands require administrative privileges to execute properly. To use administrative privileges, you would type sudo before the command you wish to run. When doing so, you’ll be prompted for your password again. This is a lot like using “Run as administrator” on Windows systems.
reboot
WARNING: Downtime
The reboot and shutdown commands will incur downtime for a system; so, for obvious reasons, be sure to only reboot or shutdown (1) test systems or (2) when necessary for professional troubleshooting.
Now, to restart the Linux machine, try the reboot command. This will cleanly shutdown the machine and start it back up:
[penguin@centos7 ~]# sudo reboot
Connection to centos07.domain.lan closed by remote host.
Connection to centos07.domain.lan closed.
After a short while, you should be presented with the login screen again.
shutdown
Finally, use the shutdown command to completely power off a Linux system (there is a short delay):
[penguin@centos7 ~]# sudo shutdown
Shutdown scheduled for Tue 2020-01-02 20:55:51 EDT, use 'shutdown -c' to cancel.
[penguin@centos7 ~]#
Broadcast message from root@centos7 (Tue 2020-01-02 20:54:51 EDT):

The system is going down for power-off at Tue 2020-01-02 20:55:51 EDT!

Connection to centos07.domain.lan closed by remote host.
Connection to centos07.domain.lan closed.
TAB COMPLETION
While the previous commands are short, many commands can be longer. This can require a lot of typing; so, to speed things up, you can use tab completion.
Tab completion is when you begin typing something at the CLI, hit Tab, and the remainder of the command appears for you. You can see this with the previous commands: reboot and shutdown.
Single Possibility
Try it out by typing reb, then hit Tab. The full reboot command should appear. For now, don’t execute the command, just (1) use Backspace to delete the command or (2) hit Ctrl + c to cancel the command out completely. Likewise, type out shut, and hit Tab. Again, this should populate the full shutdown command.
Multiple Possibilities
Now, based on what you may have typed in the CLI, if you hit Tab and there is more than one possible command that starts with the same text you’ve already typed out, the command won’t auto-complete; instead, hit Tab once more and you’ll be presented with all the possibilities:
[penguin@centos7 ~]# who
who     whoami
[penguin@centos7 ~]# who
NOTE: Command Availability
Depending on your specific system, you may see more, less, or different listed possibilities.
Similar behavior happens when only typing host and hitting Tab twice:
[penguin@centos7 ~]# host
hostid       hostname     hostnamectl
[penguin@centos7 ~]# host
You can now see that hostid, hostname, and hostnamectl are all possible commands that start with host. From here, you can type some additional letters to narrow down the possibilities further.
So, try adding n to what you’ve already typed to get hostn, then hit Tab. Now, the command will auto-populate hostname:
[penguin@centos7 ~]# hostnameHit Tab again and you’ll see the two remaining options: hostname and hostnamectl:
[penguin@centos7 ~]# hostname
hostname hostnamectl
[penguin@centos7 ~]# hostname
From here, you can either (1) hit Enter to execute the hostname command by itself or (2) type some additional letters to narrow down the possibilities to just hostnamectl.
CONCLUSION
Now you should be familiar with the beginnings of interacting with a Linux system:
- The difference between the GUI & CLI
- How to log in
- How to execute some basic commands
From this, you now have a good foundation for branching out to even more commands – and there’s a lot! As such, you’re well on your way to completing more comprehensive tasks on a Linux system.